Ready for step two? Now that your workspace is set up, it's time to meet the team! This is where you'll learn how to collaborate with your new AI agents to get work done, faster.
Check out the video above to see it in action, or follow the guide below to become a chat pro!
Your Instant Agent Library

Beyond the default AI team, you have instant access to over 80 specialized AI agents! These experts are designed to support every part of your business—from Marketing and Sales to R&D and Operations.
Just head to the Agent Template library, find an agent you like (say, "Customer Support"), and click the "Add" icon to clone them directly into your workspace. They come with pre-optimized prompts, ready to work immediately! For example, you can ask your new support agent to draft a professional email for a customer ticket, and they'll have it ready in moments.
Two Awesome Ways to Chat
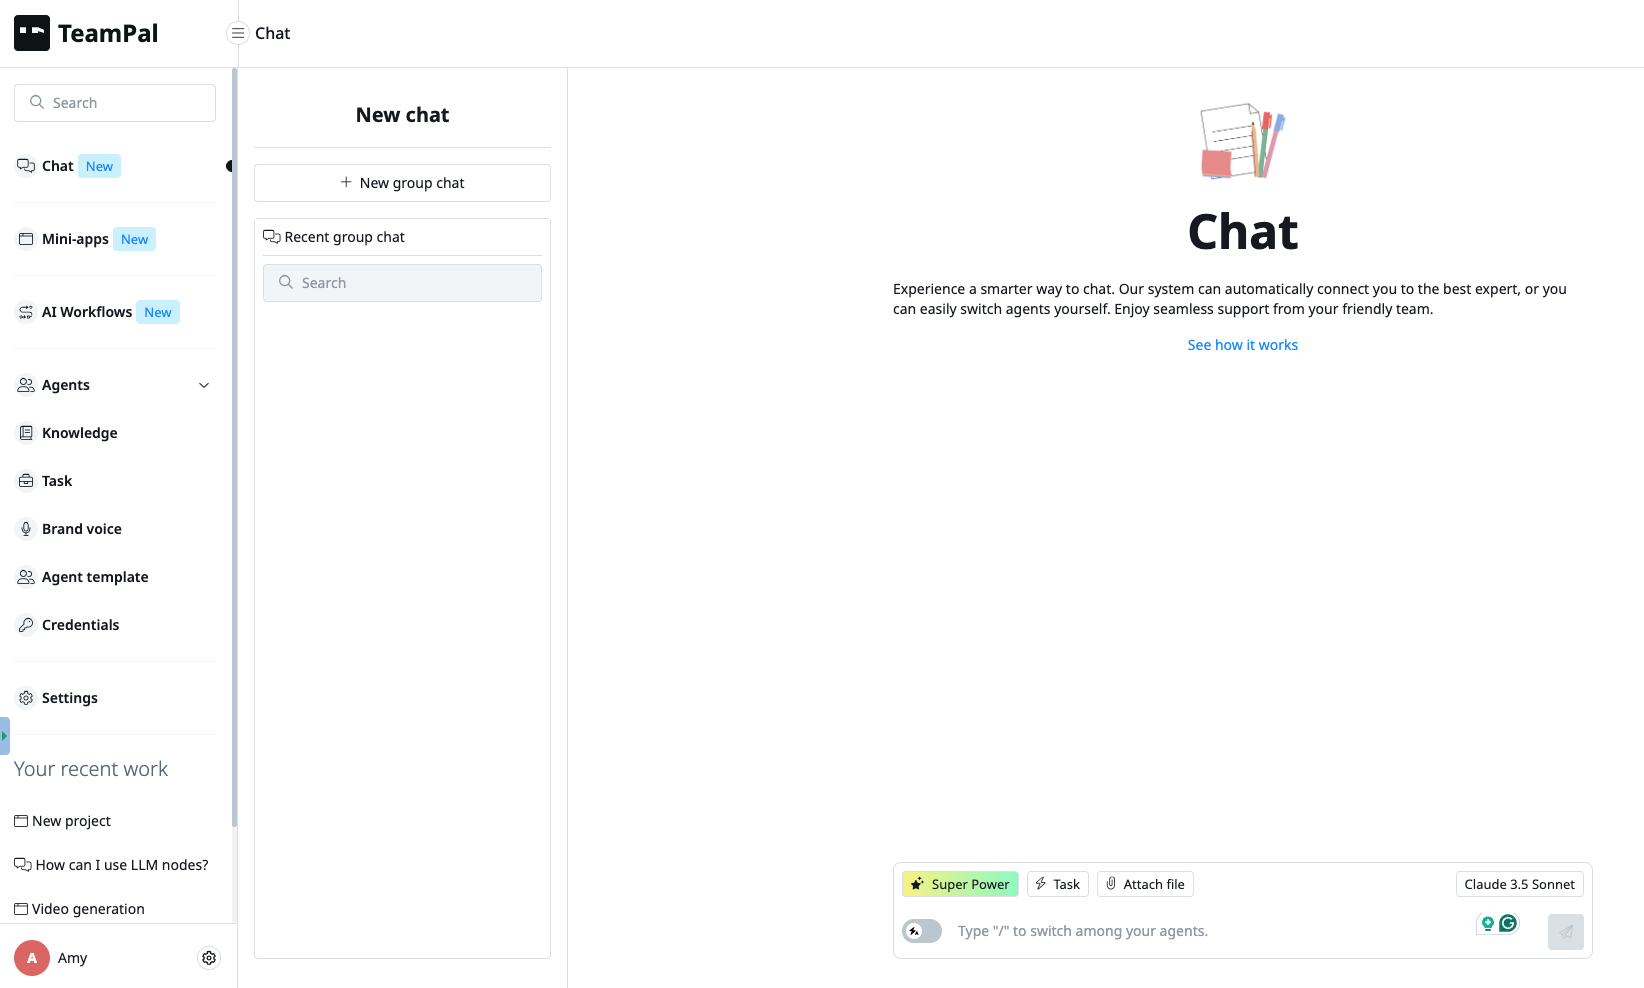
- One-on-One Chat: Need to focus on a specific task? Just click directly on an agent to start a one-on-one conversation. It's perfect for direct requests and getting detailed work done.
- Group Chat (Teamwork makes the dream work!): This is where true collaboration shines. You can bring multiple agents into a single chat. For instance, assign a planning task to your Brand Manager agent, then tag in your Content Creator agent to handle the execution!
How to switch agents: It's easy! The agent's name is highlighted in blue. To switch, just delete their name and type / to choose a new agent from the list.
Pro-Tip: Put it in "Auto" Mode! ?
- Not sure which agent is best for the job? No problem! Create a new chat and toggle on the Auto Agent Mode.
- This smart feature automatically routes your request to the most suitable specialist for the task. Ask for a "step-by-step guide," and watch the Sales Manager agent (or another expert) immediately take the lead.
- A quick heads-up: like any good autopilot, it might occasionally get the wires crossed. If you already know exactly which agent you need, manually selecting them with the / command is always a smart move.
Review Agent Configure
Above, you'll find an interactive demo video that showcases how to optimize your agents in TeamPal. We recommend accessing this article on Freshdesk for the most optimal interactive experience of the video. You can do that by clicking the Redirect icon to the right of the article’s title.
This hands-on demonstration allows you to explore the features and functionality of our software in a dynamic, engaging way. For those who prefer a text-based overview or want to quickly reference key points, like me, there’s a written version below.
Instruction:
Step 1: Choose an agent template. Click on the three dot button on the top right and choose Configuration
Step 2: Review the Instruction tab. This will be the heart of your agent. From agent information, system prompt, to AI model, make sure everything is accurate to what you want the agent to do. You can re-generate the system prompt if unsatisfied!
Step 3: Click Save
Persona:
Step 1: Switch to the Persona tab in Agent Configuration. This is your agent’s personality. Feel free to customize it.
Step 2: You can change basic information (avatar, name, gender, description) and message interface (welcome message, suggested message). Make use to AI generation as you wish.
Step 3: Hit Save.
Task: TeamPal pre-assigns the best tasks for each role, but you can add more.
Step 1: Go to Task tab in Agent Configuration.
Step 2: Add more by clicking the Add from library button. You have 800+ task templates at your disposal.
Step 3: Tick the ones you want to add and hit Save.
Superpower:
Step 1: Switch to the Superpower tab in Agent Configuration.
Step 2: This is where the magic happens. You can equip skills with the Add from library button, choose some from the list and press Save.
Step 3: You can feed them internal data from the knowledge base with just a simple click on the Add from knowledge. Make sure you have uploaded everything to the Knowledge tab in the sidebar menu beforehand.
Step 4: Finally, select a brand voice. This is particularly useful for content creator and customer support agents. You also need to equip Brand voice first in the sidebar menu.
If you have any questions or need further assistance, don’t hesitate to reach out via support@teampal.ai. Happy automating!

Disclaimer: This article is written in the voice of Nate, a fictional character created for user adoption and branding purposes, you'll also meet him and some other characters in our onboarding emails. If you’ve grown attached… our mission is completed! ;) – a happy marketing employee
Was this article helpful?
That’s Great!
Thank you for your feedback
Sorry! We couldn't be helpful
Thank you for your feedback
Feedback sent
We appreciate your effort and will try to fix the article